A well-functioning brake system is crucial for your vehicle’s safety. One often overlooked aspect is the brake pedal, which plays a significant role in your car’s overall braking performance.
Adjusting your brake pedal can significantly enhance your driving experience by providing a more responsive and reliable braking system. In this guide, we will walk you through the process of adjusting your brake pedal, ensuring you understand the basics before diving into the adjustment process.
Key Takeaways
- Understand the importance of brake pedal adjustment for vehicle safety.
- Learn the steps involved in adjusting your brake pedal.
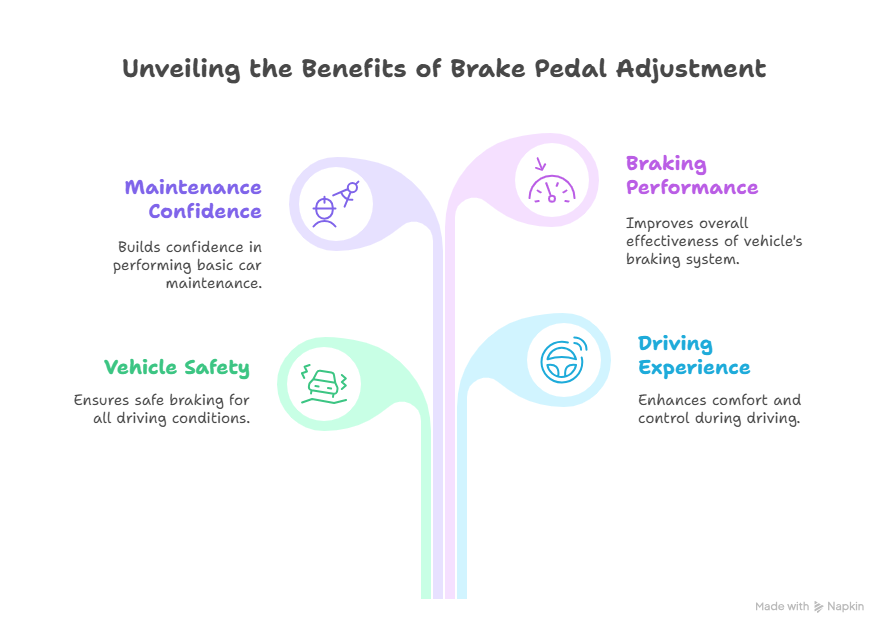
- Discover how a properly adjusted brake pedal can improve your driving experience.
- Gain confidence in performing basic car maintenance tasks.
- Enhance your vehicle’s overall braking performance.
Understanding Brake Pedal Adjustment Basics
Understanding how to adjust your brake pedal correctly is vital for ensuring your vehicle’s braking system functions optimally. The brake pedal’s position and tension play a significant role in a vehicle’s overall braking performance.
Why Proper Brake Pedal Position Matters
A proper brake pedal position is crucial for safe and effective braking. If the pedal is too high or too low, it can lead to driver fatigue and potentially cause accidents. A correctly positioned brake pedal ensures that the driver can apply the brakes comfortably and efficiently.
Signs Your Brake Pedal Needs Adjustment
Several signs indicate that your brake pedal height or tension needs adjustment. These include a spongy brake pedal, increased stopping distance, or if the pedal feels too hard or too soft. If you notice any of these signs, it’s essential to check your brake pedal adjustment.
Tools and Materials Required
To adjust your brake pedal, you’ll need a few basic tools. These typically include a wrench or socket set for loosening bolts, and possibly a screwdriver for adjusting the brake pedal tension. It’s also a good idea to consult your vehicle’s manual for specific recommendations on tools and materials required for your particular vehicle.
How to Adjust Brake Pedal Height and Tension
Adjusting your brake pedal height and tension is crucial for a safe and comfortable driving experience. A properly adjusted brake pedal ensures that you can apply the brakes effectively and maintain control over your vehicle.
Safety Precautions Before Starting
Before you begin adjusting your brake pedal, it’s essential to take some safety precautions. Ensure your vehicle is parked on a level surface and apply the parking brake. Additionally, consult your vehicle’s manual to understand the specific recommendations for your vehicle’s make and model.
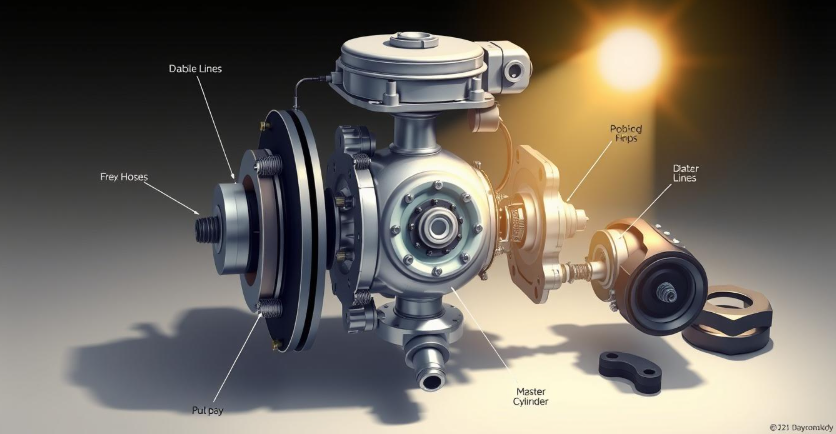
Step1: Locating the Adjustment Points
The first step in adjusting your brake pedal is to locate the adjustment points. These are typically found near the top of the brake pedal or under the dashboard. Consult your vehicle’s manual or look for a diagram to identify the exact location on your vehicle. Proper identification of these points is crucial for making the correct adjustments.
Step2: Adjusting Brake Pedal Height
To adjust the brake pedal height, you’ll typically need to loosen a nut or bolt that secures the pedal in place. Once loosened, you can adjust the pedal to your desired height. It’s crucial to ensure the pedal is not too high or too low, as this can affect your ability to brake comfortably and safely. After adjusting, tighten the nut or bolt to secure the pedal.
Step3: Modifying Brake Pedal Tension
Modifying the brake pedal tension involves adjusting the cable or mechanism that connects the pedal to the brake system. This may involve tightening or loosening a cable or adjusting a tensioning device. The goal is to achieve a smooth, responsive brake pedal that is not too loose or too tight.
Step4: Testing Your Adjustments
After making the necessary adjustments, test your brake pedal to ensure it’s functioning correctly. Press the pedal several times to check its height and tension. Make any necessary fine-tuned adjustments to achieve the desired feel and performance.
Troubleshooting Common Brake Pedal Issues
If you encounter issues with your brake pedal after adjustment, such as sponginess or excessive hardness, you may need to troubleshoot the problem. Common issues include air in the brake system or worn-out brake components. Consult a professional mechanic if you’re unsure about how to address these issues.
Conclusion
Proper brake pedal adjustment is crucial for vehicle safety and performance. By following the steps outlined in this guide, you can ensure your brake pedal is adjusted correctly and maintain it for optimal performance. Regular brake pedal maintenance is essential to prevent issues and ensure your vehicle’s brakes function as intended.
To keep your brake pedal in top condition, make easy brake pedal adjustments periodically and inspect the brake system for any signs of wear. By doing so, you’ll be able to identify potential problems early on and address them before they become major issues.
With the knowledge gained from this guide, you’re now equipped to make the necessary adjustments and maintain your brake pedal. By prioritizing brake pedal maintenance and making easy brake pedal adjustments, you’ll be able to drive with confidence, knowing your vehicle’s brakes are functioning properly.
FAQ
How often should I check my brake pedal adjustment?
It’s recommended to check your brake pedal adjustment every 6 months or during routine vehicle maintenance to ensure optimal brake performance and safety.
What are the signs that my brake pedal needs adjustment?
Signs that your brake pedal needs adjustment include a spongy or soft brake pedal, increased stopping distance, or a brake pedal that’s too high or too low.
Can I adjust my brake pedal myself, or should I consult a professional mechanic?
Adjusting your brake pedal can be a DIY-friendly task if you have the right tools and follow the correct steps. However, if you’re unsure or uncomfortable, it’s always best to consult a professional mechanic for assistance.
How do I adjust the brake pedal height?
To adjust the brake pedal height, locate the adjustment points, typically found near the brake pedal arm or the master cylinder, and turn the adjustment nut or bolt to achieve the desired height.
What tools do I need to adjust my brake pedal?
The tools required to adjust your brake pedal may include a wrench, pliers, and a screwdriver, depending on the type of brake system and adjustment mechanism in your vehicle.
How do I troubleshoot common brake pedal issues after adjustment?
To troubleshoot common brake pedal issues, check for proper brake pedal height and tension, inspect the brake system for leaks or worn-out components, and test the brakes in a safe and controlled environment.
Can digital brake pedal calibration improve my vehicle’s brake performance?
Yes, digital brake pedal calibration can improve your vehicle’s brake performance by ensuring precise brake pedal positioning and optimal brake system operation.
What are some tips for maintaining my brake pedal?
To maintain your brake pedal, regularly inspect the brake system, keep the brake pedal area clean, and lubricate the brake pedal pivot points as needed to ensure smooth operation.
How can I ensure my brake pedal adjustment is done correctly?
To ensure your brake pedal adjustment is done correctly, follow the manufacturer’s instructions, consult a repair manual, and test the brakes thoroughly after making adjustments.